

Sweet pieces of dried apricot and warming ginger make these quick and easy Apricot and Ginger Scones an extra-special treat. It takes just thirty minutes to make this quick and easy recipe, perfect for serving simply alongside a hot drink or as part of a traditional afternoon tea.
There is nothing like a proper homemade scone fresh from the oven. Served with clotted cream or butter and jam they are an easy to make treat that is sure to please.
Traditionally scones are made either plain or with raisins but you can also get creative, as I have here. This recipe was inspired by some scones that my husband and I enjoyed in a cosy tea room opposite Kenilworth Castle and by some homemade apricot jam made by my son.
I like to tell the stories behind the food I share, but if you prefer to go straight to the recipe, you can use the Jump to Recipe button at the top of the page.

The Story Behind My Apricot and Ginger Scones
One cold day several years ago, my husband and I had been exploring Kenilworth Castle, a favourite of Queen Elizabeth I. We needed to warm up, so decided to visit the tea room across the road. Just as we arrived, a fragrant tray of fresh warm scones was being carried from the kitchen into the restaurant. The person who seated us told us they had been experimenting and asked if we would like to try these warm from the oven Apricot and Ginger Scones.
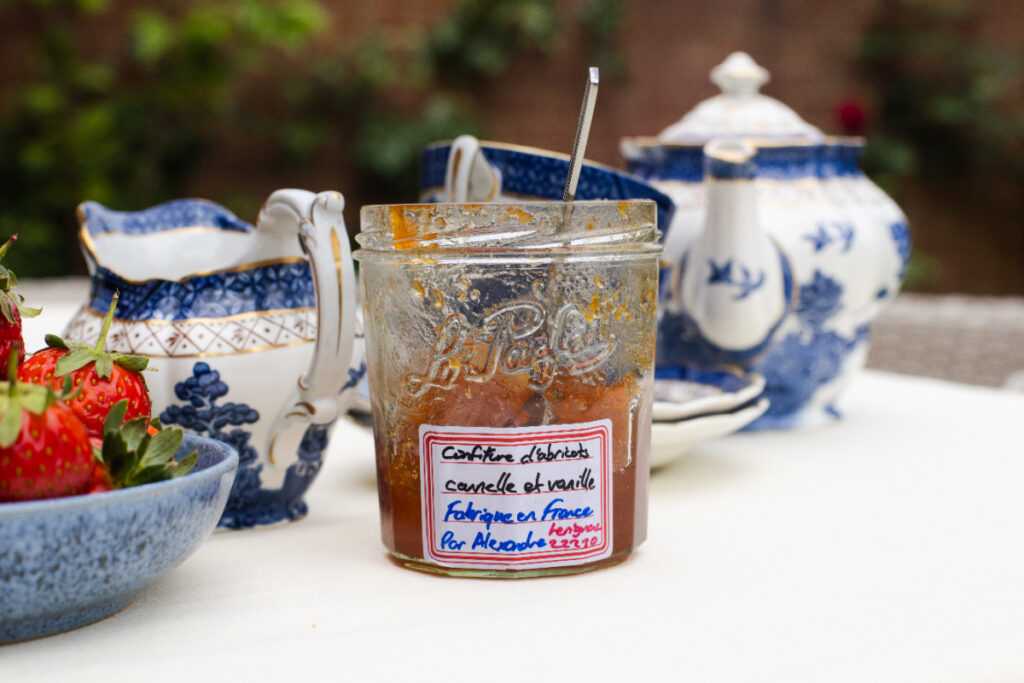
They tasted so good that I resolved to develop my own recipe, but it wasn’t until all these years later when my son shared some irresistible homemade apricot jam he had made while visiting France that I finally got around to it. Now I can’t stop making them!
Tips for Making This Recipe
Apricot and Ginger Scones come together really quickly so be sure to get all your ingredients and everything you will be serving alongside ready first – although wait to prepare any hot drinks until towards the end of the baking time. Don’t let the scones overcook though!
Use a pastry cutter to make this recipe for best results. (affiliate link) You can also rub the flour and butter together with your fingers or use an electric mixer or food processor but in my honest opinion, using a pastry cutter works best. This is because the butter and flour cut together really thoroughly and they stay cool because you are not touching the ingredients with warm hands.
Pressing out the dough more thickly will make for taller, puffier Apricot and Ginger Scones. I recommend pressing the dough out to about 2.5 to 3 cm thick. That is about an inch or slightly higher.
I like to use an 8 cm round scone cutter and this recipe will make at least four scones of that size. (affiliate link) If you prefer smaller scones, they will likely bake a bit more quickly so do watch them while they are in the oven.
It’s best to serve scones as soon as possible after baking but they will keep in a sealed container for 24 to 48 hours. I recommend reheating them gently before serving.
You can also freeze completely cooled, well wrapped scones in a sealed container. Defrost thoroughly and gently reheat before serving.
Serve these scones as part of a larger afternoon tea, or simply with clotted cream, jam, a cup of tea and some strawberries and I did in the photograph below.

I hope you will enjoy these Apricot and Ginger Scones as much as my family, friends and I do.
Apricot and Ginger Scones – Printable Recipe

Apricot and Ginger Scones
Ingredients
- ⅓ cup cold butter, cut in small cubes
- 1½ cups plain (all purpose) flour
- ½ teaspoon salt
- 3 teaspoons baking powder
- 2 tablespoons granulated or caster sugar You can use more or less, to taste.
- 1 teaspoon ground dried ginger
- 3 tablespoons chopped dried apricots
- ½ cup milk
- 1 egg, beaten, for glaze (optional)
Instructions
- Preheat the oven to 200°C (400°F) or 190°C (375°F) for convection or fan ovens.
- Line a baking tray with greaseproof paper or baking parchment.
- Put the butter and flour in a large mixing bowl.
- Using a pastry cutter (also known as a dough blender) or two dinner knives, cut the butter into the flour until the mixture resembles coarse crumbs. You can also do this by rubbing the butter and flour together with the pads of your fingers, although I prefer to use a pastry cutter as it is best not to handle the dough too much.
- Using a fork, stir in the salt, baking powder, sugar, ground dried ginger and chopped dried apricots into the flour and butter mixture.
- Add the milk a bit at a time, stirring with a fork between additions, until the dough just begins to come together.
- Using clean, cold hands, bring the dough together completely. (If your hands are very warm, first be sure to wash them in cold water and dry them thoroughly to cool them down.)
- Turn the dough out onto a lightly floured surface, using your hands to form it into a rough ball. Avoid handling the dough too much as you need it to stay cool for best results.
- Working quickly, use the flat of your hand to push the dough out into a rough square about 2 to 2.5 cm (roughly an inch) thick. Do not use a rolling pin as this will push all the air out of your dough and the scones will not be as light and fluffy.
- Using an 8 cm round biscuit, scone or cookie cutter, cut out 4 scones from the dough by positioning the cutter gently on top of the dough, and then pressing down very quickly. This causes the dough to puff up and makes for flakier scones.
- Gently lift the scones using a metal slice (egg lifter), palette knife or icing spatula. Place the scones on the greaseproof paper lined baking tray.
- Ideally you want to cut all the scones out the first time you press out the dough. However, if there is any leftover dough you can press it out one more time and cut out another scone. I find this recipe makes four 8 cm scones most of the time.
- This step is optional, but if you wish to glaze the scones before baking, beat the egg until light and fluffy. Then lightly glaze the scones with the egg using a pastry brush. You will not need all of the egg.
- Put the baking tray in the oven and bake the scones for 15 minutes or until they begin to turn golden brown. Watch the scones carefully in the last minutes of baking so they do not over cook.
- Remove the baking tray from the oven and serve the scones warm. They will also keep for a day or so in an airtight container or can be frozen. Be sure to defrost thoroughly and reheat gently before serving.
Notes
did you make this recipe?
Make sure to tag #apriljharris on Instagram and follow @apriljharris for more.
One more thing – if you prefer more traditional scones, check out my Grandma’s Orange and Raisin Scones, which can also be made as plain scones.
Photos by Terry Joshi Images.
Leave A Reply!